Archive for February, 2014

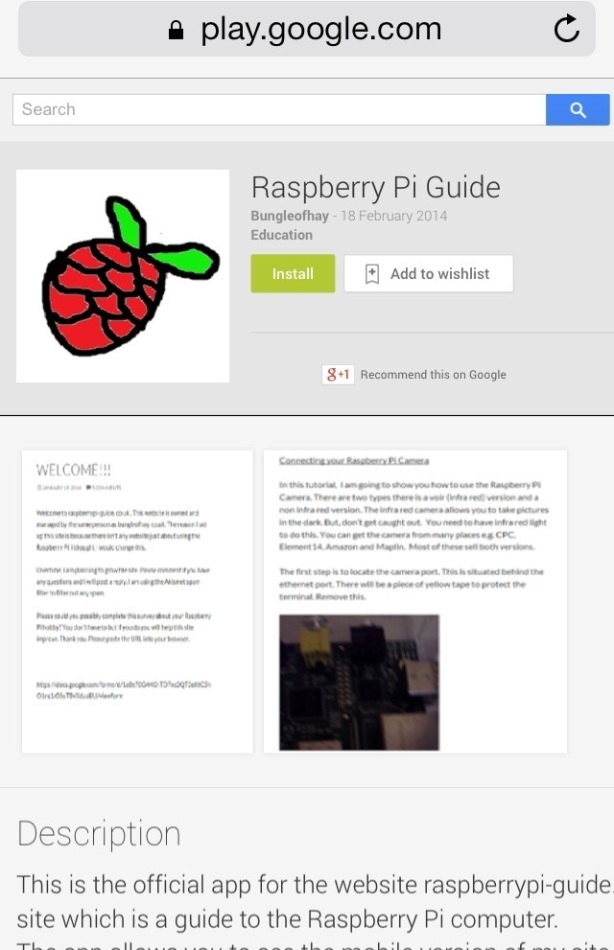
Year 9 Student Creates Android App – Raspberry Pi Guide

Posted: February 19, 2014 by schoolpiclub in General News

20140219-095958.jpg

Year 9 Student and School Pi Club Founder Member (JW) has created his own Android App ‘Raspberry Pi Guide’.

The app is a mobile version of his Raspberry Pi Guide website http://raspberrypi-guide.co.uk

JW’s vision is to have a comprehensive guide for everything Raspberry Pi in one website.

You can download the app from Google Play by following this link https://play.google.com/store/apps/details?id=com.wRaspberryPiGuide&hl=en_GB

Great work JW!

Code your own website using HTML5

Posted: February 15, 2014 by schoolpiclub in General News

It’s half term which means a week without School Pi Club, but that doesn’t stop us serious coders!

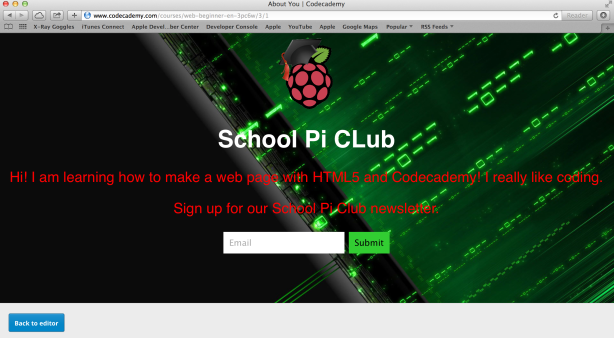
School Pi Club just earned its HTML5 badge with Codecademy! Learning to code a website using HTML5 is great fun. Check out the website and HTML5 badge below.

We shall be looking at more courses such as PHP and Javascript. You can learn code anytime, anywhere with http://www.codecademy.com

HTML5 badge


HTML5 website

@Codecademy Animate Your Name

Posted: February 10, 2014 by schoolpiclub in General News

Codecademy Animate Name

Below is a quick YouTube video to show one of the lessons on http://codecademy.com

We chose to code/animate ‘School Pi Club’

Coding Lessons continue on @Codecademy

Posted: February 10, 2014 by schoolpiclub in General News

Codecademy Badge


Getting a nice collection together of http://codecademy.com badges – learning code is fun!

Flappy Bird in Scratch

Posted: February 8, 2014 by schoolpiclub in General News
Tags: , ,

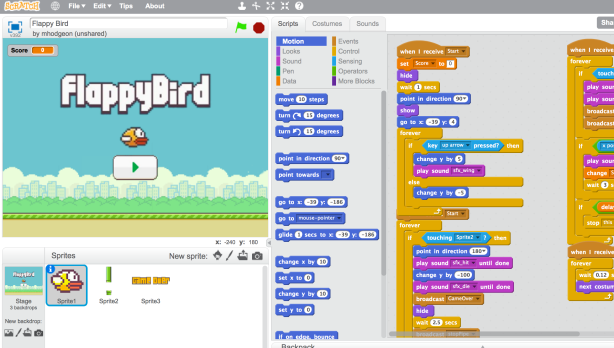
Flappy Bird in Scratch

By now, I’m sure you’ve heard of Flappy Bird. It’s the number one app in the iOS App Store in over 100 countries.

In this weeks School Pi Club we shall be looking at Flappy Bird in Scratch. All School Pi Club members will be signing up for a free online Scratch account at http://scratch.mit.edu

Here are the steps we will follow:

1. Sign up for a free scratch online account at http://scratch.mit.edu

2. Visit the following link http://tinyurl.com/scratchflappybird and download the scratch flappy bird project files (.zip format) and save to your computer. Once downloaded extract the files.

3. Log in to your scratch online account and select ‘Create’ to start a new project.

4. Now click ‘File’ and then choose the ‘Upload from your computer’ option

5. Now browse your computer to where you downloaded and saved the Flappy Bird project files.

6. Select the file named ‘Flappy Bird.sb’

7. The Flappy Bird game will now be imported to your account.

Take a look at how it works, see what you can change/improve or make your own version of Flappy Bird. One day you too could have a number one game in the App Store…..the possibilities are endless!

Raspberry pi survey

Posted: February 7, 2014 by drydo13 in General News

Raspberry pi survey

Please view my raspberry pi survey personal details not included

Learning with @Codecademy

Posted: February 3, 2014 by schoolpiclub in General News

Today we looked at the Codecademy website and started to look at the different step-by-step lessons in code. It’s a great stepping stone into the world of code, you can join groups and earn badges along the way.

We completed quite a few tasks during our lunchtime!

Streaming Raspberry Pi Camera

Posted: February 1, 2014 by schoolpiclub in Raspberry Pi Camera

One thing we have talked about at School Pi Club is how to stream the Raspberry Pi Camera via the web. Founder member JW would like to use it to check on his dog remotely.

Here are the instructions to set up streaming a Pi Cam.

1. After booting up your Raspberry Pi you need to install MJPG Streamer using LXTerminal.

# Make and change into directory.
sudo mkdir /opt/mjpg-streamer
cd /opt/mjpg-streamer/

# Install the following packages.
sudo apt-get install libjpeg8-dev
sudo apt-get install imagemagick
sudo apt-get install subversion

# Download MJPG Streamer into the current directory.
sudo svn co https://svn.code.sf.net/p/mjpg-streamer/code/mjpg-streamer/ .

# Run make.
sudo make


2. Now for the fun bit – streaming the video from your Raspberry Pi Camera. Please note you will need to scroll along to see some of the code below.

# Make a directory to store the temporary images.
sudo mkdir /tmp/stream/
# Make the directory writable.
sudo chmod a+rw /tmp/stream/

# Start capturing.
# See what the raspistill options are.
raspistill --help
# You see the record light turn on after executing the following line.
raspistill -w 640 -h 480 -q 5 -o /tmp/stream/pic.jpg -tl 100 -t 9999999 -th 0:0:0 -n &

# See what the MJPG Streamer options are.
/opt/mjpg-streamer/mjpg_streamer --help
# Run the following to start up the MJPG Streamer streaming webserver.
LD_LIBRARY_PATH=/opt/mjpg-streamer/ /opt/mjpg-streamer/mjpg_streamer -i "input_file.so -f /tmp/stream -n pic.jpg" -o "output_http.so -p 9000 -w /opt/mjpg-streamer/www" &


3. If everything went smoothly you can open up a web browser and go to:

http://<your-raspberry-pi-ip-address:9000/

There you have it. To access your streaming webserver remotely you will need to enable port forwarding on your router. Since every router is different we cannot explain how, but the PortForward site can guide you. 

4. To stop streaming you need to kill the processes. First do ctrl+C to get the command prompt.

# To kill MJPG Streamer
killall mjpg_streamer

# to kill Raspistill
killall raspistill